In Today’s Post…
Get practical tips for violinists to enhance sound quality, play with a more consistent tone and rhythm, and reduce bowing noise. The 2-minute exercise in the video below emphasizes the importance of proper elbow and arm positioning. Applying these techniques to regular practice routines for more refined and skillful performances.
Introduction:
Hello, fellow violinists AND fiddlers! Let’s enhance your violin sound, making it cleaner and crisper, while also avoiding the annoying sound of missed notes.
Skim the article for a quick explanation and watch the tutorial video and try the exercise.
The Magic Begins with the Elbow:
Your right elbow has a secret role to play in enhancing the richness and consistency of your violin sound. It’s time to start leading with your elbow, ensuring that the stick of your bow is on the same plane as the string you’re playing on. So how do we put this into practice? Start with a simple exercise: play four notes on the e string with your elbow down by your body, then gradually move your elbow up to align with the A, D, and G strings. The key here is to allow the elbow to lead the string changes.
Become One with the Strings:
Positioning your elbow and arm properly will help you create a cleaner sound. It might feel a bit counterintuitive, especially if you’re not accustomed to it, but try this: position your bow on the E string and let your elbow drop as far as it can. If you’re a little bit bigger, your arm might actually touch your body. But don’t worry, what matters here is that you are comfortable and natural with your posture.
From the E string, move everything up to the A string, then to the D, and finally, the G. A common mistake is to hesitate in raising the arm for the G string. Understandably, it may feel vulnerable to have this area exposed. But once you get used to the positioning, the string won’t miss your bow, and your sound will be more consistent and resonant.
To reinforce this technique, let’s do a few exercises. One effective practice technique involves stopping your bow after each string, letting your elbow come down and feeling the bow push on the next string before moving on. It’s essential to lead with the elbow and ensure the bow is on the string before you draw it.
For a bit of fun, try the ‘Run Pony’ exercise starting on the E string. With each ‘run’ and ‘pony,’ swivel your elbow, alternating between strings. As you progress, you’ll find your elbow movement becomes more fluid and intuitive.
Applying the Techniques:
Once you’ve got these exercises down, try integrating them into your usual practice. Try using the technique in these free play along practice video lessons. Whether you’re working on a fiddle tune or a classical piece, remember to move your elbow and arm to match the string your bow is playing on. If you’re moving between two strings frequently, find a comfortable mid-point where your bow can touch both strings, and simply rock your wrist to switch between them.
For more on how to get a consistent sound, avoid bow skipping, and make smooth bow changes, watch this video.
The Path to Technical Mastery:
The path to mastering the violin involves a lot of practice, and developing an awareness of how your elbow, arm, and wrist interact can be a game-changer. If you’d like to explore more actionable strategies and support, check out the links below.
Remember, improvement doesn’t come overnight, but with patience, determination, and consistent practice, you’ll start to see the results in your playing. Keep the passion alive and happy practicing!
Subscribe


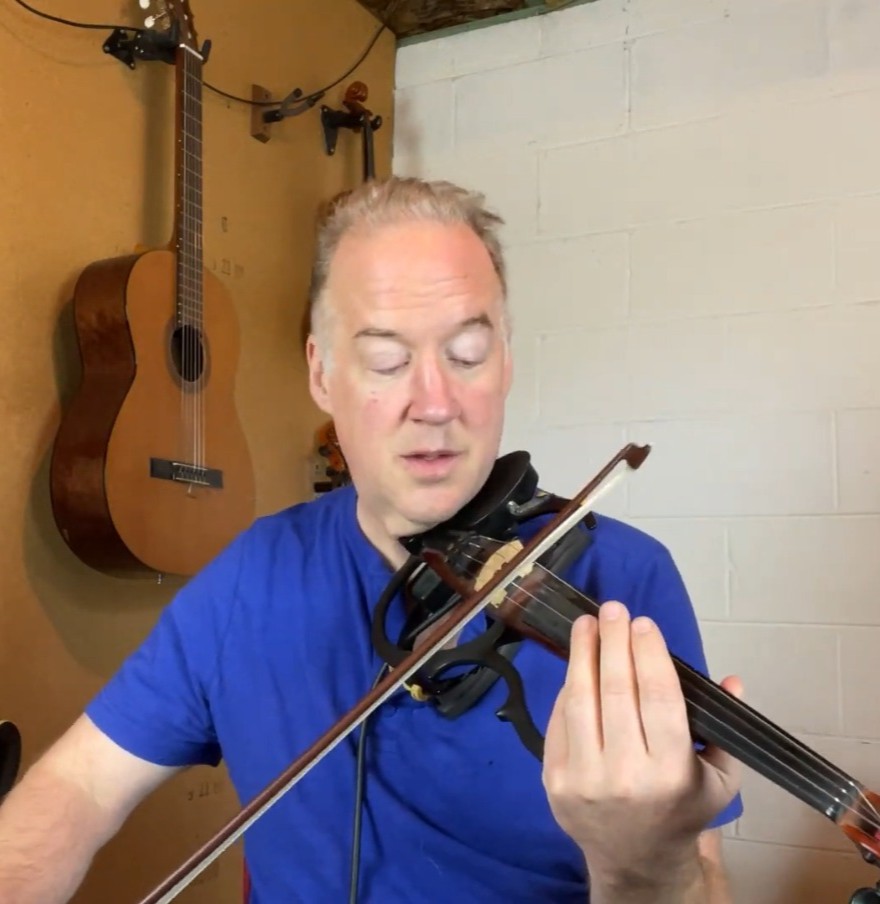
In this video, I’m going to teach you how to play cleaner. Uh, you’re going to have better rhythm, better consistency of sound on the notes that you play. And you’re not going to get that annoying thing where you get the string misses, like, where you miss that note, right? I’m going to show you how to do it. A couple of exercises you’re going to do. Very easy. Um, but if you haven’t already started doing this, then it might be counterintuitive. So what we’re going to start with is we’re just going to play four notes here. Our elbow is down by our body, right? Then we move here. Move the elbow up. That’s it.
The whole trick to this is your elbow leads. So the idea is that whatever string your bow is on, it’s on the same plane. See the stick is on the same plane as this and this. It’s like a box top can go on it. So my G string, I’m here. Right? So we want to get in a habit, not only of having the arm be on the same plane as the stick, but when you cross strings that the elbow leads. And what happens is, now that my elbow is led, my bow is on the string before I draw it. See, it’s already on the string. I can’t miss. I can’t miss. So here’s the exercises. So in fact, let’s start with this one. So just put your bow on the string, E string, your, let your elbow drop all the way. I’m a, I’m a little bit bigger. So my, my arm actually touches my body, right? But if, if you’re not as big as me, it might, you might have space, but let it drop as far as it will.
Now move everything to the A string and check here. Look in the mirror if you have to. And it’s a feel thing, right? It’s not always going to be exact. And G string is here. A lot of people are afraid to put their arm up for the G string, and I think that’s because we have this natural, it feels vulnerable physically to have this area exposed. It’s like, you know, tickle torture or something. You know, so, so we’re up here for the G string. Now let’s do the other exercise I showed you. Once you’ve, once you’ve just felt this, and just are aware of it, now we’re going to do, uh, uh, uh, uh, uh, uh, stop. Let your elbow come down.
Feel the bow pushing on the D string and then pull. Stop. Swivel there. Feel the bow on the A string. Go to the E. We’re going to do some other variations of this, alright? You can do this both ways, though. Take your time. Lead with the elbow. Alright, let’s do another variation with it. We’ll start on the E string this time. This time we’re going to do run, pony, run, pony. I still want you to try to stop, though. So, run, pony, run, pony. Swivel. One thing that will help is if you feel this, you feel that consonant sound, this is pulling the string. So we get, I’m overdoing it, but it’s so that you can know that you’re doing it right. You can always soften that later. All right, so let’s do reverse run pony. Let’s do pony run now. So. Pony run. Okay. Try that one. Push pause if you want, and then you can take any song that you have and you can start to be aware of it. So let’s say. Um, Whiskey for Breakfast. It’s a fiddle tune, right? So… Just watch how my wrist moves. Or, rather, my elbows, right? See how it drops down and it’ll drop back.
So it doesn’t have to be a fiddle tune. It could be literally any kind of tune that you’re working on. You just try it, but just have that awareness. Now here. Is the one caveat that I’m gonna share with you. The one caveat is when you’re moving back and forth. from two strings a lot. We don’t want to, we’re going to do this all day long, right? So I’ll give you an example. All right. So let’s say that we’re playing, try to play that. Right? So if we were, if I was technically in the D string position of my elbow and my arm, I’d be somewhere around here. Right? A string would be somewhere around here, but I’m not going to go. That’s too much. That’s too much to do. So what we want to do instead is we want to put our bow on both strings at the same time.
Find where that feels comfortable. And if you look at me like you could overdo it, like, does this feel comfortable? It doesn’t feel right to me. This doesn’t either. And these are the extremes that people go to and somewhere in the middle. And it’s roughly where the stick and the arm are on the same plane. Right. You see that? So we’re in the middle right here. And then we just do a little bit of rocking with our wrist like this. And if you watch my elbow, it’s pretty much staying in the same place. So now at this point, I’m doing it all with my wrist, right? So in this Whiskey for Breakfast, You see, I moved for the G, but I didn’t move a lot in between D and A because I just know that it’s all going to be right. It’s going to be moving back.
But having that positioning of the basically right here in between D and A string position, that’s what allows me because I don’t have to move my wrist that much. So meanwhile, you want to get in the habit of practicing these kinds of exercises and having this awareness of your elbow. Lots of actionable strategies in the newsletter. It’s in the link below and lots more technique videos and play alongs all linked below. Check it out. All right. See ya!